Git for Noobs
or
«Just RTFM»
Judging by looking at my Github account and its many repositories one might say I’d be pretty skillful at using Git.
However, I am – or was – a satisfied user of the official Github Desktop GUII know some of you will turn up your noses now.. While I do not feel uncomfortable using a CLI I liked how easy it was plus enjoyed having a nice graphical overviewgit status is now my favorite command. And yes – maybe I was a bit frightened.
Having a nice GUI seemed just more fulfilling. But alas! the Github GUI client has one disadvantage: You can’t add multiple remotes! The only option to go on from there is to rely on the good ol’ command line.
What I wanted to achieve was having a remote copy of this website right here on a Github repository (so I’d would have access from everywhere), but also a live copy on my server – because FTP’ing into your server and putting files into the right places manually is no fun at all! I also could have used a webhook to transfer my data to my server whenever I push to Github – I just couldn’t be bothered by it. ¯┐(´-`)┌¯
Hey, this one seems easy, right?
Well – it could be, if only…
… if only I had experience in Git. The GUI is maybe too user-friendly. You can easily operate it without ever having any deeper knowledge. Something many folks actually are perturbed by. xkcd at it again
The roadmap seemed clear, though the details were not. First I needed to turn my server into something Git would understand, then add my server to the local git config, and … that’s it?!
My first problem started by not understanding the difference of git init and git init --bare. Jon Saints has a nice overview on this special case. For the uninitiated: On a remote place you want to do the latterNormally you name the bare repo something like site.git. You also don’t want to put the git repo at the document root. Later we will see, why.. The --bare option tells Git to only store the versioning, but not the actual files in a working tree.
What I did was to accidentally init a non-bare repository on my server, and then wondered why I was getting back this error: Actually, you can push to a non-bare repository just fine, you just can’t push to the one branch that is currently checked out. That’s because Git was made to make sure it does not lose any of your files – which could easily happen when you push to a dirty working tree. As bare repositories never have any branch checked out, you can always push to any branch of a bare repository.
$ git push live
remote: error: refusing to update checked out branch: refs/heads/master
remote: error: By default, updating the current branch in a non-bare repository
remote: error: is denied, because it will make the index and work tree inconsistent
remote: error: with what you pushed, and will require 'git reset --hard' to match
remote: error: the work tree to HEAD.
[…]
After I figured out the mistake and set up a bare repo I tried to git push (which yielded no errors). This came with the next surprise tho, when I FTP’ed onto my server and rubbed my eyes in wonder: “Where are my files?”
Welp, we learned now, a bare repo has no source files.
Okay, so we can’t push to a non-bare repo and I miss my actual files if I push to a bare one?!
The correct way
To use Git for deploying you need to be aware of hooks.
Git has a way to fire off custom scripts when certain important actions occur. There are two groups of these hooks: client-side and server-side. Client-side hooks are triggered by operations such as committing and merging, while server-side hooks run on network operations such as receiving pushed commits.
Git already has some pre-defined hooks inside its ‘hooks’ folderIn this example your bare repo site.git has already a subfolder called ‘hooks’.. However there is no post-receive example. So let’s make a file with touch post-receive. Open it in your favorite editor and type:
#!/bin/sh
git --work-tree=/var/www/fileshereplz --git-dir=/var/myrepo/site.git checkout -f
Save the post-receive file and set the proper permissions by:
chmod +x post-receiveDon’t forget to add the new remote in your local git config!
Now every time you push to your server the files are getting deployed automatically. More options like branching etc.
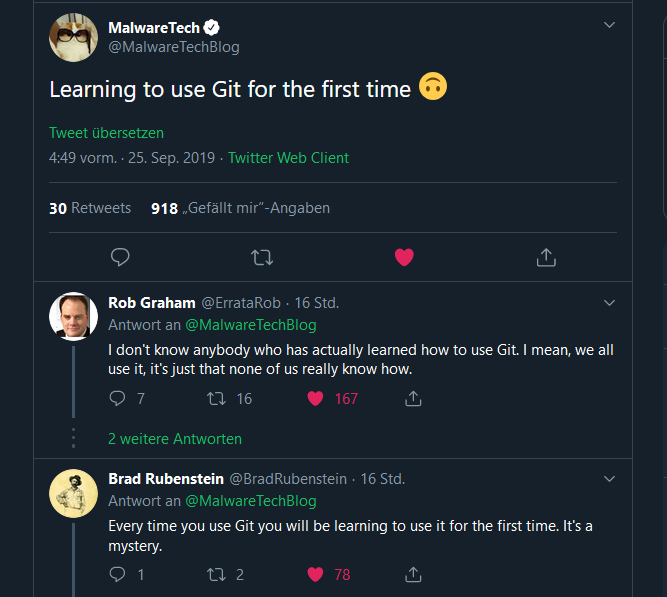
After my Git debacle I saw this tweet. It just sums it all up very well:
Only one thing left
I want to push to my server without the need of typing in my password every time. This task seems easy at first glance, but vast amounts of information on the internet is just plain wrong.
There is the Git Credential Manager for Windows, but it sadly only works with HTTPS repos, not with SSH ones (like the one I have set up).
All other things I’ve found need ridiculous amounts of workarounds and third-party programs or are actually talking about the Linux Subsystem. It’s totall nuts!
But lo and behold! For once Microsoft is aware of the needs of its users, and has an article on this topic.
In the more recent versions of Windows 10 we can easily get a copy of OpenSSH:
- Open
Manage optional featuresfrom the start menu and make sure you haveOpen SSH Clientin the list. If not, add it. - Open
Servicesfrom the start menu. - Scroll down to
OpenSSH Authentication Agent> right click > properties - Change the startup type from
DisabledtoAutomatic (Delayed Start) - Open
cmdand typewhere sshto confirm that indeed OpenSSH is living. You should seeC:\Windows\System32\OpenSSH\ssh.exeas the path. - If you use Git you maybe need to specifically point it to the ssh.exe.
Now every time you start your PC the ssh-agent will be fired up as well.
With the help of ssh-keygen we can generate a public/private key pair, which can (but doesn’t need to) be encrypted with a passphrase.
Your generated keys will reside in ~\.ssh\.~ can be used in powershell, but not in cmd. For the latter you can use %USERPROFILE% tho.
First the private key needs to be loaded into the ssh-agent by using
ssh-add ~\.ssh\id_rsaThe public key then has to be put onto your server. Some providers have an online GUI for that, others don’t. The manual way would be to put the content of id_rsa.pub into a file called authorized_keys in ~/.ssh/.
If you’ve done everything correctly so far you should be able to git push myserver without ever typing in your ssh password again in cmd. 👍
PS: Color your Windows CMD appropriately!
If you want to learn Git as well, try this beginner friendly guide. It helped me a bit. 🙃
Comments